Github 个性化主页

一开始看到大佬们的github主页,觉得炫酷极了。下面的三维立体贡献度方格还是能发光的!
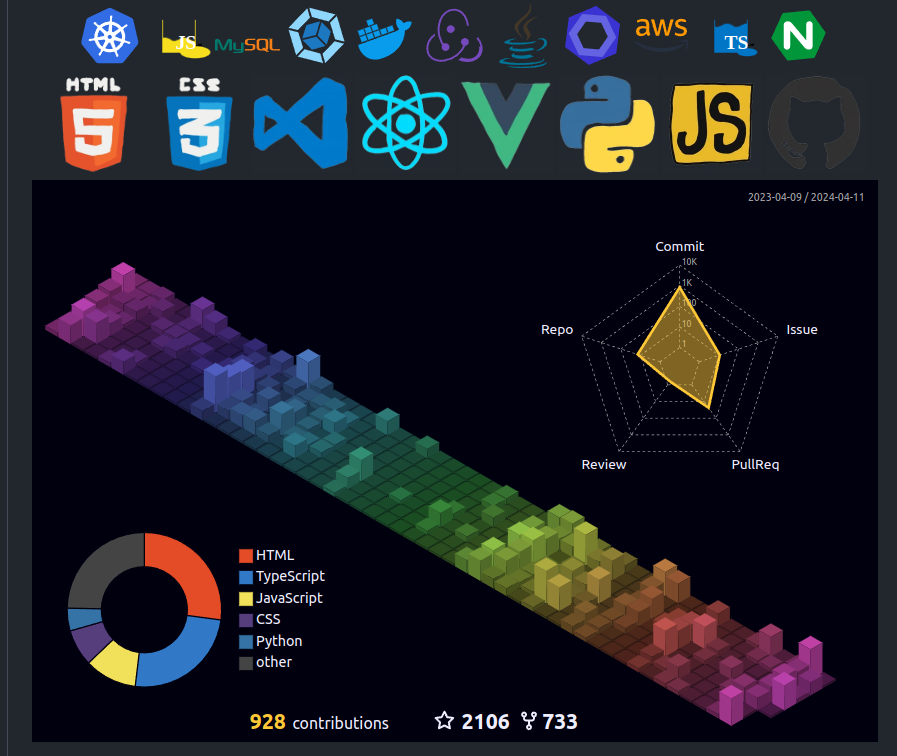
再看看自己的主页,平平无奇,不忍直视。谁不想要一个炫酷的主页呢?👆这个图——我也要!!
首先介绍一下实现原理,github通过对用户名同名仓库名下的readme文件进行解析,将readme文件的内容展示在个人主页上。
- readme使用markdown语法,可以插入图片、链接,甚至是html标签。
- svg也是图片格式,可以通过链接插入到readme中。而svg上面又可以实现动画能功能,因此可以借助svg实现一些炫酷的效果。
- github 行有Action工作流,可以定时运行任务,因此可能通过Action更新svg甚至是整个readme中的内容。
美化教程一:初始化README
第一步新建用户名同名仓库,并勾选创建README.md文件。README.md默认会有以下内容,包含一个三级标题和一个注释块说明。这里面介绍了可以通过markdown语法在个人主页上添加内容。
### Hi there 👋

<!--
**username/<username>** is a ✨ _special_ ✨ repository because its `README.md` (this file) appears on your GitHub profile.

Here are some ideas to get you started:

- 🔭 I’m currently working on ...
- 🌱 I’m currently learning ...
- 👯 I’m looking to collaborate on ...
- 🤔 I’m looking for help with ...
- 💬 Ask me about ...
- 📫 How to reach me: ...
- 😄 Pronouns: ...
- ⚡ Fun fact: ...
-->
比如我稍微加点文字
### Hi 👋 I'm YeeKal

<div align="center">个人博客: [yeekal.store](https://yeekal.store/)</div>
主页就会被渲染成这样:

到这里其实我们已经完成了第一步也是最重要的一步,就是我们有一个渠道可以更新主页了。事实上关于markdown的语法都可以用起来了,比如插入列表,emoji,图片等等。
像下图的这种文本式静态的展示已经不在话下了。

等等,但是上图的标题是居中的,我的是左对齐的,怎么办呢?这就需要用到html标签了。打开这个人的主页仓库,查看一下readme源码:
<h2 align="center">👋 Hello! I'm Athul.</h2>
<p align="center">
  <a href="https://blog.athulcyriac.in">Blog</a> •
  <a href="https://twitter.com/athulcajay">Twitter</a>
</p>
很显然,align="center"属性使得标题和链接居中显示。我们也改一下:
<h2 align="center"> Hi 👋 I'm YeeKal </h2>
<p align="center">个人博客: <a href="https://yeekal.store/">yeekal.store</a> </p>

标题居中,这样就好多了。
美化教程二:统计卡片展示
在readme文件中插入一段链接(把username那里替换成自己的用户名):
<div align="center"> <img src="https://github-readme-stats.vercel.app/api?username=<username>&theme=gotham&show_icons=true&hide_border=true" /> </div>
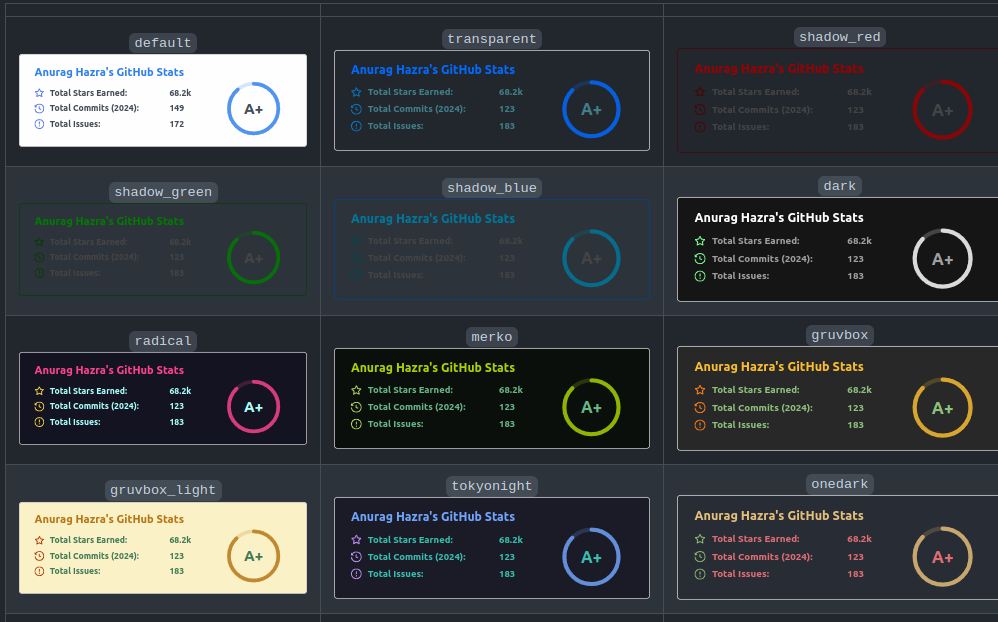
这样就可以在主页上展示github的统计数据了,包括star树木,commit,pr,issues等:
暗黑主题不喜欢? 当然,可以更换其它主题,只需要把链接中的theme=gotham改成其它主题即可。比如theme=graywhite, 详情可参考github-readme-stats:
除此之外,还可以添加开发语言统计:
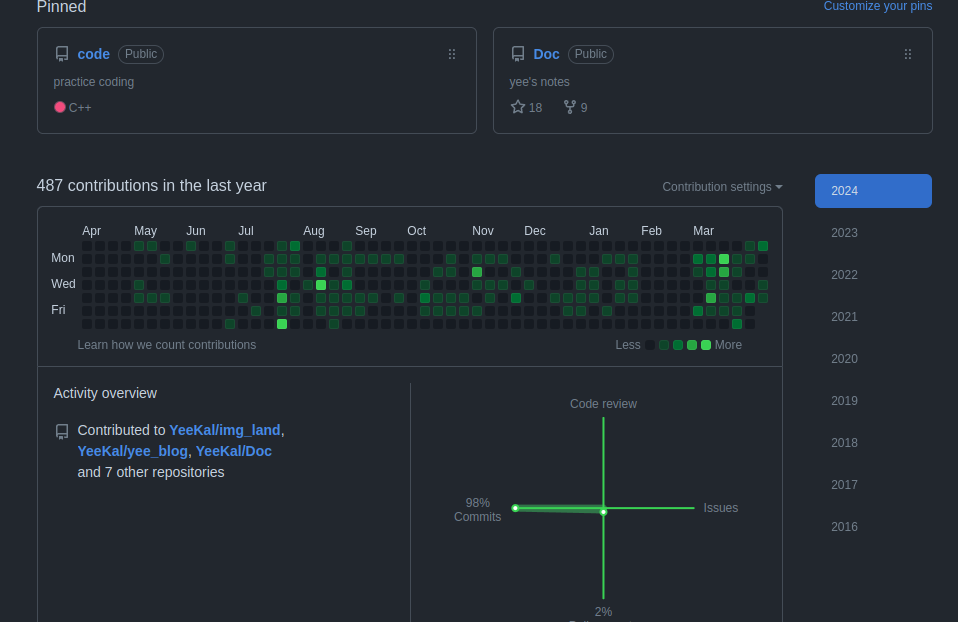
GitHub 活动统计图:
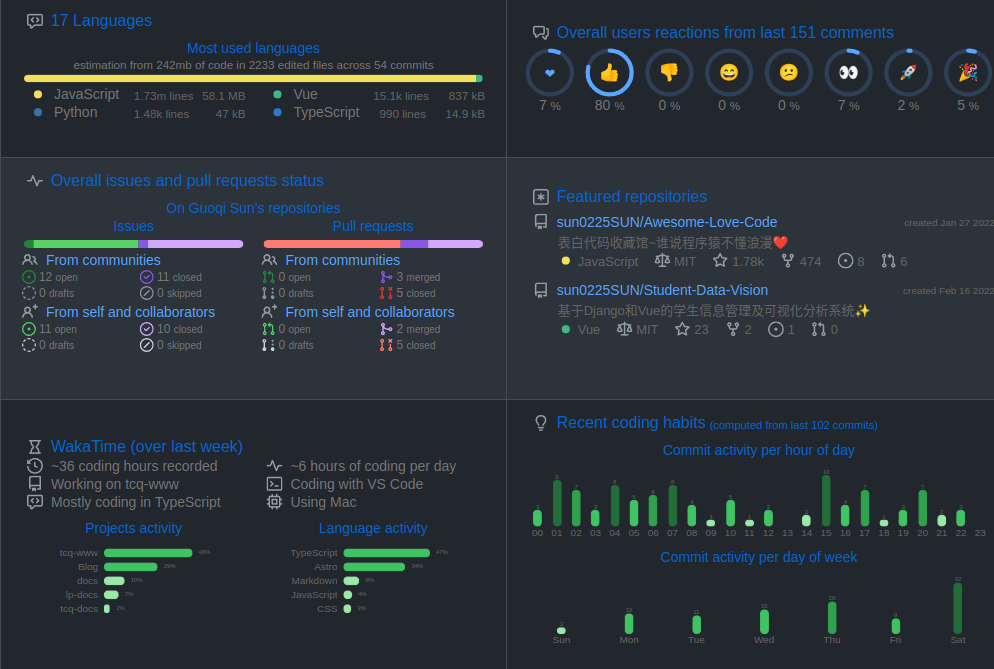
甚至可以这样(参考sun0225SUN):
美化教程三:利用action自动更新
如果想要题图那样的动图,就需要借助github action了。首先在仓库中新建文件夹.github/workflows,然后在workflows文件夹中新建一个.yml文件,比如contrib.yml。这个文件的内容是一个action工作流,可以定时运行任务,比如更新readme中的内容。在contrib.yml写入以下内容:
name: 3D Contrib

on:
  schedule:
    - cron: "0 0 * * *"
    # https://docs.github.com/zh/actions/using-workflows/events-that-trigger-workflows#schedule
  workflow_dispatch:

jobs:
  build:
    runs-on: ubuntu-latest
    name: generate-github-profile-3d-contrib
    steps:
      - uses: actions/checkout@v2
      - uses: yoshi389111/github-profile-3d-contrib@0.7.1
        env:
          GITHUB_TOKEN: ${{ secrets.GITHUB_TOKEN }}
          USERNAME: ${{ github.repository_owner }}
      - name: Commit & Push
        run: |
          git config user.name github-actions
          git config user.email github-actions@github.com
          git add -A .
          git commit -m "generated"
          git push
这个工作流利用了github-profile-3d-contrib,这是其他程序员已经开发好的一个action,可以生成题图那样的三维立体贡献度方格。这个action会在每天的0点运行,生成svg文件,然后提交到仓库中的profile-3d-contrib文件夹内(这个文件夹会自动更新)。
然后在readme中插入这个svg文件:
<!-- 把路径中的YeeKal替换成自己的用户名 -->
<picture>
  <source srcset="https://cdn.jsdelivr.net/gh/YeeKal/YeeKal/profile-3d-contrib/profile-night-rainbow.svg" media="(prefers-color-scheme: dark)">
  <source srcset="https://cdn.jsdelivr.net/gh/YeeKal/YeeKal/profile-3d-contrib/profile-gitblock.svg" media="(prefers-color-scheme: light)">
  <img src="https://cdn.jsdelivr.net/gh/YeeKal/YeeKal/profile-3d-contrib/profile-night-rainbow.svg">
</picture>
最后提交到仓库,等待action自动运行,就可以看到自己的主页上有了三维立体贡献度方格了。
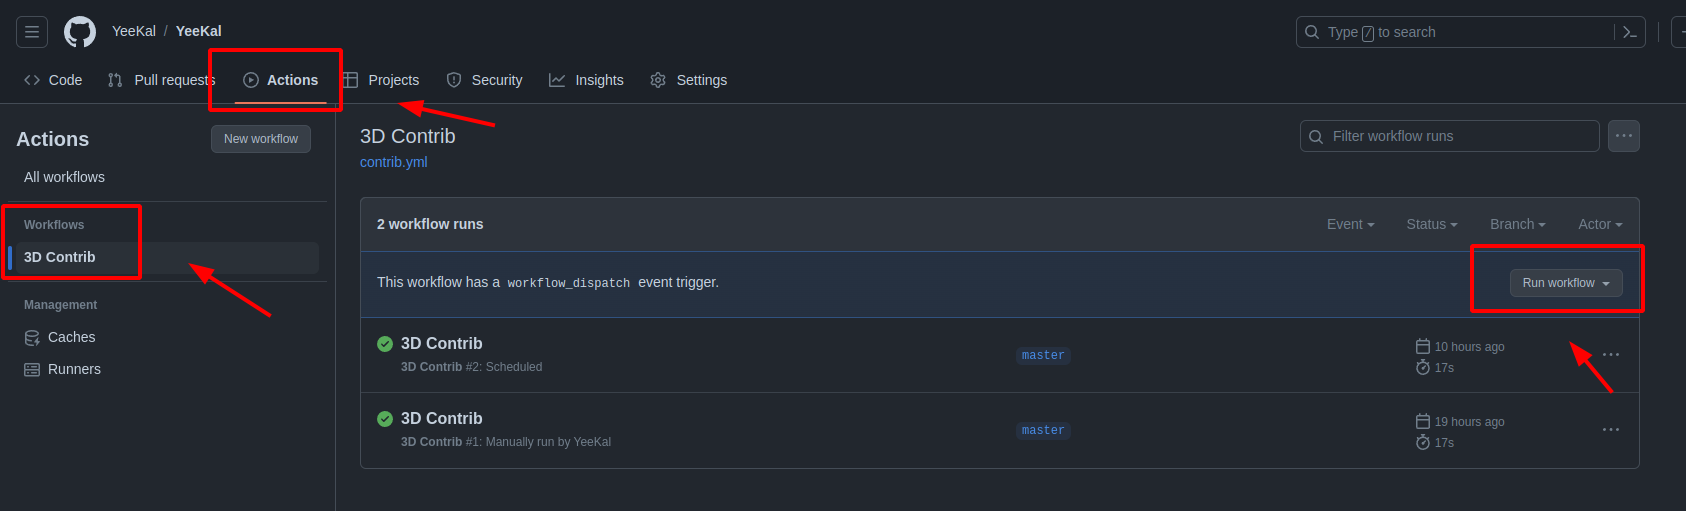
但是提交完,主页没没有出现方格图,那是因为action还没有运行。我们可以手动触发一下,作为action的冷启动。
如下图,首先在主页仓库点击Actions,然后点找到Workflows中的3D Contrib,再点击Run workflow,action就被触发了,稍等一会儿就可以看到效果了。
最后来一张整体的效果图:
